How I Track My Time: A Solopreneur’s Guide to Using Clockify
This post contains affiliate links. If you purchase through them, I may receive a small commission at no extra cost to you.
Time tracking may not be the most exciting part of running a business, but it's an important piece of keeping projects profitable and understanding where our hours really go. After years of working with other solopreneurs, freelancers and small business owners, I've noticed we typically fall into two camps: the meticulous minute-trackers, and the "I'll start next month" group.
Using Clockify to Track and Monitor Work Hours
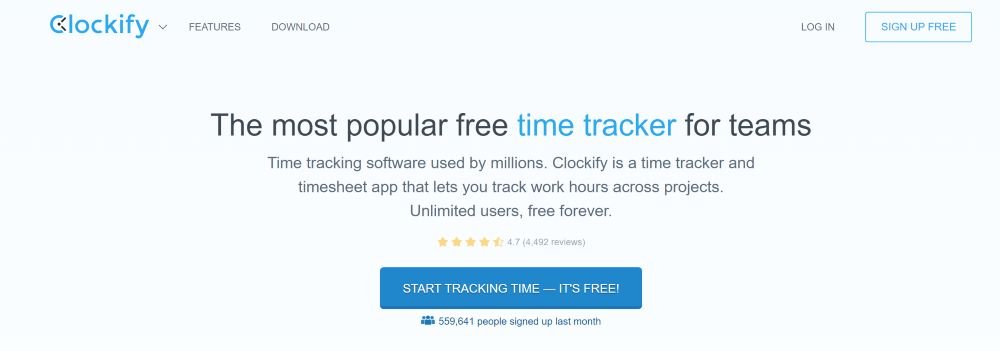
In 2020 when I started my business, I went on a quest to find the perfect time tracking solution. After testing out what felt like every tool available at the time, I chose Clockify - and while there are literally dozens of other options now, it's still my go-to for keeping tabs on all my business hours.
The free version has everything most solopreneurs and freelancers need (and yep, it's what I still use despite my weakness for shiny new tools). Clockify helps you track hours, organize projects, and finally answer the age-old question of where all that time disappeared to...
Clockify Time Tracker
Clockify combines time tracking with project management to help freelancers and teams monitor their work hours.
With features for project organization, reporting, and integrations with other tools, it helps you understand your time and make better decisions about your workflow and client projects.
A Step-by-Step Clockify Tutorial
Step 01: Sign Up and Log In
01. Visit the Clockify website* and click on the "Sign Up" button.
02. Choose one of the available sign-up options. You can sign up using your email address, Google account, or Apple account.
03. Follow the on-screen instructions to create your account.
04. Once registered, log in to your newly created account.
Step 02: Set Up your Workspace
After logging in, you'll be prompted to set up your workspace. A workspace is like an umbrella that can contain multiple projects and teams. You can create workspaces for different aspects of your life, like personal projects, freelance work, or your full-time job.
Click on "Create Workspace" and give it a name, e.g., "Freelance Projects". (I just have one workspace, and mine is called “Janessa’s Workspace”).
Optionally, you can invite team members to join your workspace by entering their email addresses.
Step 03: Create Projects
Once your workspace is set up, you can create projects within it. Projects help you organize your time entries and track hours spent on specific tasks.
Click on "New Project" within your workspace.
Provide a name for the project (e.g., "Client A Website Redesign")
Optionally, you can add a description and choose a color for the project for easier identification.
If you're working with a team, you can assign team members to the project.
Click "Create" to save the project.
Here’s how I set up my Clockify Account:
I separate my time into six project categories:
01 Business/Admin
- Website updates and general administrative tasks
02 Education
- Studying, learning, reading white papers, taking courses, and attending webinars.
03 Networking
- Business calls, coffee dates, info sessions, IRL meetings and other networking activities.
04 Marketing
- Social media posts, analytics, email marketing, campaigns, SEO, and overall marketing strategy.
05 Content Creation
- Conducting research, writing, and editing content such as blog posts, emails, and optimizing for SEO. Creating visuals for content.
06 Client Work
- Creating individual project tracks for each client and monitoring time spent on their projects.
Step 04: Track Time
01. To start tracking time, go to the Clockify dashboard.
02. Click on "Start Timer" at the top right corner of the page.
03. Choose the project you're working on from the dropdown menu. You can also select a specific task, or leave it blank if not necessary.
04. Clockify will start counting your time as soon as you hit "Start."
05. To stop tracking time, click on "Stop" from the same Timer button.
06. You can add time manually if you forgot to start the timer. Click on the "+ Add Time" button on the dashboard and enter the date, duration, and project details.
Step 05: Review and Manage Time Entries
01. To review your time entries, go to the "Dashboard" section.
02. Here, you'll find a list of all your time entries, including the date, duration, project, and task (if applicable).
03. You can edit time entries if you made a mistake. Click on the entry you want to modify and select "Edit" to make changes.
04. Clockify also allows you to add tags to your time entries, making it easier to filter and categorize them.
Step 06: Reports & Insights
Clockify provides various reports to help you analyze your productivity and time usage.
Navigate to the "Reports" section to access these insights.
Select your desired report type, such as "Summary," "Detailed," "Weekly," or "Project."
Customize the date range, workspace, and projects to generate specific reports.
Use these reports to make decisions on improving productivity or making data-informed decisions for future projects.
Step 07: Integrations (Optional)
Clockify offers integrations with various other tools like Trello, Asana, Slack, and more.
To integrate Clockify with other applications, go to the "Apps" section on the Clockify website.
Browse the available integrations and follow the instructions to set them up.
Step 08: Invite Team Members (for small business owners & teams)
If you're managing a team, you can invite members to join your workspace.
Go to the "Team" section on the Clockify dashboard.
Click on "Invite" and enter the email addresses of the team members you want to add.
Choose their role (Admin, Member, or Guest) and click "Invite."
I've covered the main things you'll need to get started with Clockify here. There's plenty more to explore as you get comfortable with the basics - just jump in and see what works for your workflow.
Plan a website that works for your business.
Not sure what your website needs… or where to start? The Website Workflow Starter Prompt will help you get clarity and direction! This step-by-step guide includes AI prompts to map out your pages, layout suggestions to keep everything organized, and content tips to connect with your audience.

Clockify Frequently Asked Questions
Here are some frequently asked Q’s & A’s about Clockify 👇
Q. What is Clockify, and how does it work?
Clockify is a robust time tracking tool that offers a range of features designed to streamline your workflow. It allows you to create projects, assign tasks, and track the time spent on each work activity. Clockify also provides detailed reports, giving you a comprehensive overview of what you’ve been working on.
Q. Is Clockify free?
Yes, Clockify offers a free version. I use the free version and am impressed with all the functionality. Users can access and utilize many of its core features without any cost, like time tracking, project and task management, reporting, and more. The free version is a great option for individuals, freelancers, and small teams looking for basic time tracking and project management capabilities.
However, Clockify also offers a paid version called "Clockify Pro" that provides additional advanced features and enhanced support for larger teams and more complex projects.
Q. How do I use Clockify timesheet?
Using a Clockify timesheet is easy. Just create an account on the Clockify website. Once you're all set up, start by creating a project and assigning tasks to it. Then start the timer whenever you begin working on a task. When you're done, stop the timer, and Clockify will automatically record the time spent on that task. Voila! Your timesheet is ready.
Q. How do I track hours on Clockify?
You can switch between tasks, start and stop timers, and even make manual adjustments if needed. Clockify also lets you add notes and descriptions to each time entry, making sure that you have a clear record of your work activities.
Q. Is Clockify easy to use?
I think so! Clockify is designed with simplicity in mind. Its intuitive interface and straightforward navigation make it a joy to use, even for those who aren't tech-savvy. Clockify's user-friendly features and helpful support make sure that you can start tracking your time like a pro in no time at all.
Q. Does Clockify record your screen?
No, Clockify does not record your screen by default. Clockify is a time tracking software that helps solo biz owners, freelancers, and teams track their work hours and tasks. It lets people to log their time manually or use timers to track how much time they spend on various activities and projects. Clockify has screenshot recording and location tracking features, but they need to be explicitly enabled by admins. When they're enabled, all users receive a privacy notification.
Q. What can my boss see on Clockify?
If you’re not using this as a solopreneur, you might be wondering what other people can see. What your boss can see on Clockify depends on the permissions and access levels granted. In Clockify, workspace administrators can control the visibility of data. Typically, your boss might be able to see:
- Projects and Tasks: They can see the projects and tasks you're working on, their descriptions, and possibly the time entries associated with them.
- Time Entries: They might be able to view the time entries you've logged, including start and end times, durations, and any notes you've added.
- Reports: Depending on your workspace settings, your boss might have access to various reports that show time allocation, project progress, and team productivity.
It's important to note that privacy settings and access levels can vary based on how your organization has set up Clockify.
Q. How do you use Clockify effectively?
Here are some tips for using Clockify effectively:
01. Organize Projects: Create clear project and task categories to help you allocate time accurately.
02. Use Timers: Whenever possible, use timers to track your work in real time.
03. Detailed Entries: Add notes to your time entries to provide context for the work you've done.
04. Set Breaks: If you take breaks, remember to pause or stop the timer to avoid overestimating your work time.
05. Reports: Utilize the reporting features to track your time allocation.
06. Integrate with Other Tools: Clockify can integrate with other project management and productivity tools.
Clockify makes it easier to understand how you're spending your time, so you can get back to the parts of business you actually enjoy. And maybe even wrap up work at a reasonable hour...!
Read more: Be Your Own Boss: How to Start Working for Yourself and Design a Life You Love
The Solopreneur's Guide to Doing It All (Without Going Totally Bananas)
Entrepreneurship Survivorship Bias: Why Success Stories Are Only Part of The Picture
Business Terminology: 70+ Terms Every Solopreneur Needs to Know